I didn’t expect cardboard rolls to create flowers this pretty 💛and it takes less than 10 minutes to set up ✨
What I love most about this painting activity is that it combines:
🎨 process art
✋ fine motor practice
♻️ recycled materials
🌼 spring creativity
🧠 sensory learning
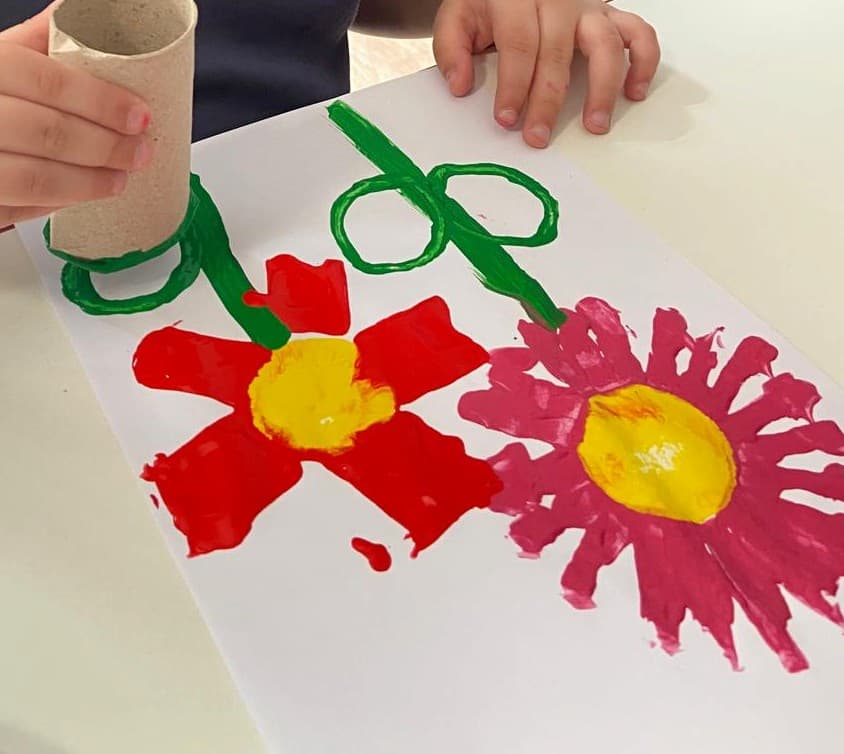
And honestly… the finished flower paintings looked so cheerful and beautiful hanging up afterward 💕

🌸Related Activities You Might Like
- 25 Easy Toddler Activities Using Things You Already Have at Home
- 9 Easy Painting Ideas for Toddlers You Can Set Up in Minutes
- The Magic Oil and Water Experiment Every Toddler Loves
Disclosure: This post may contain affiliate links. If you purchase through these links, I may earn a small commission at no additional cost to you. As an Amazon Associate, I earn from qualifying purchases. For more information, please read my full Affiliate Disclosure
🧺Supplies Needed
- toilet paper rolls
- scissors ✂️
- washable paint 🎨
- white paper or cardstock
- sponge stamper or round sponge
- paintbrush 🖌️
- paint trays or paper plates

✂️ How to Make Toilet Paper Roll Painting Flowers
🌸 Step 1: Create the Flower Stamp
Take a toilet paper roll and cut small strips around one end using scissors.
Gently bend the strips outward to create flower petals. This instantly transforms the cardboard roll into a flower stamper.
Different cutting styles create different flower shapes, which makes the activity even more fun for toddlers.

🎨 Step 2: Prepare the Paint
Pour paint colors onto trays or plates.
We used:
- bright pink 💗
- red ❤️
- yellow 💛
- green 💚
Spring colors work perfectly for flower-themed art.
🌼 Step 3: Stamp the Flower Petals
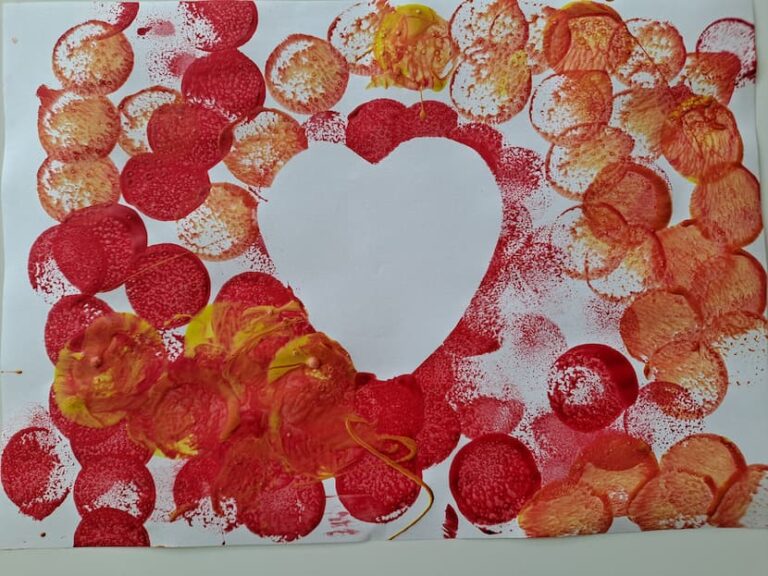
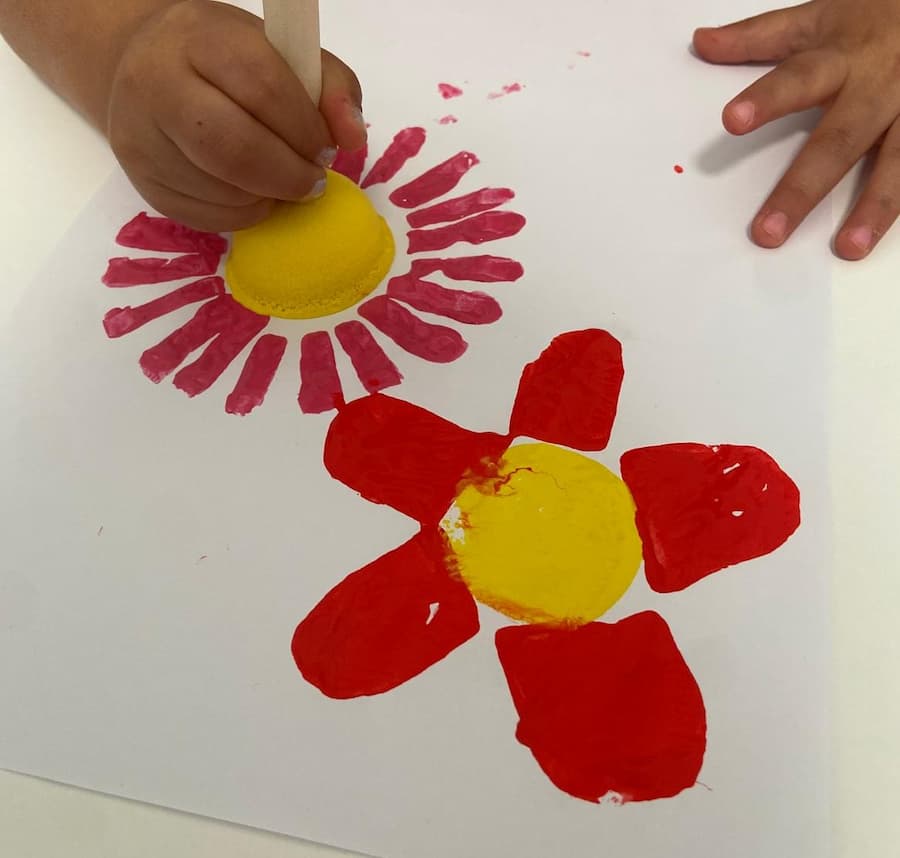
Dip the cut toilet paper roll into paint and press it onto the paper.
Your toddler can:
- stamp large flowers
- overlap prints
- experiment with spacing
- mix flower colors
This part is always exciting because little kids love the surprise of revealing the flower shape after lifting the roll.
🟡 Step 4: Add Flower Centers
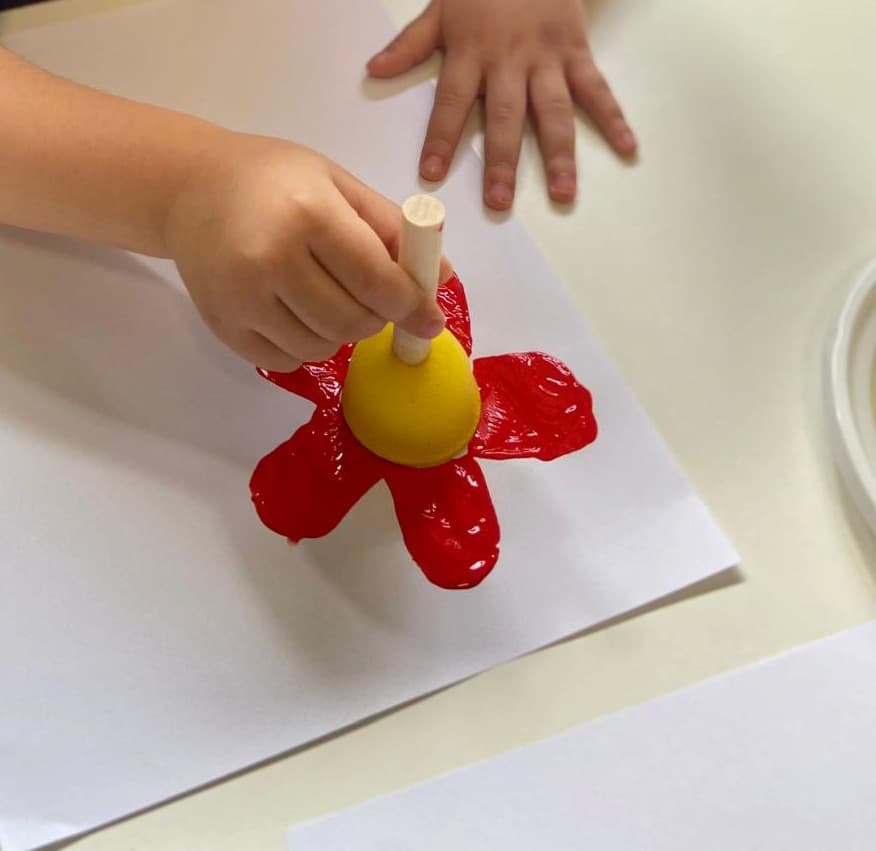
Use a sponge stamper dipped in yellow paint to create bright flower centers.
The round sponge makes the flowers look bold, cheerful, and more realistic.
🌿 Step 5: Paint Stems and Leaves
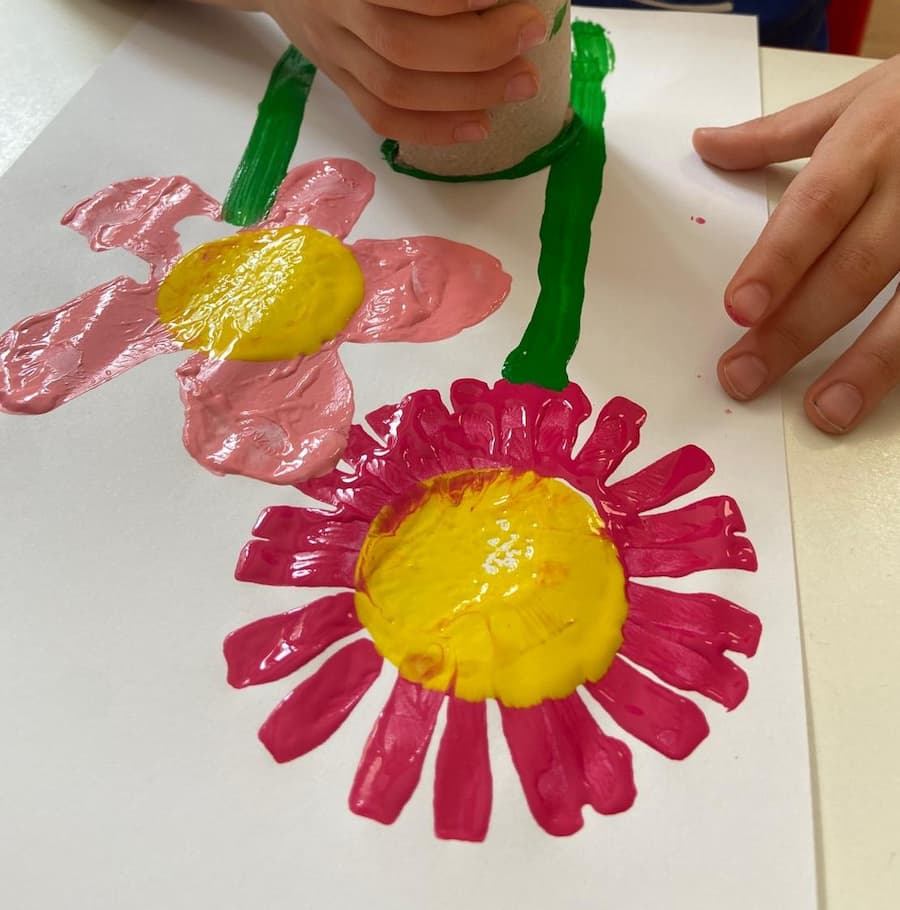
Using a paintbrush, paint long green stems underneath the flowers.
Then add simple leaves or swirls.

Toddlers love this step because they get to “finish” the flowers themselves.
Want Even More Painting Ideas for Kids?
If your child loves experimenting with paint, Paint Lab for Kids: 52 Creative Adventures in Painting and Mixed Media for Budding Artists of All Ages by Stephanie Corfee is a lovely resource to keep the creativity going.
The book includes 52 different art adventures that introduce kids to painting techniques, color, texture, mixed media, and creative ways to experiment with art materials. I especially like the idea of giving kids inspiration without expecting every finished picture to look exactly the same.
It would be a great book to have on hand when you want a creative activity but aren’t sure what to set up next.
☀️ Step 6: Let Dry and Display
Allow the paintings to dry completely.
We hung our flower paintings up together and they instantly brightened the room 🌸
These also make adorable:
- spring decorations
- classroom displays
- homemade cards
- keepsake art projects
🌷 Why Moms Love This Activity
♻️ Uses Recycled Materials
This is such a great way to reuse empty toilet paper rolls instead of throwing them away.
✋ Great for Fine Motor Skills
Stamping, gripping, and painting all help strengthen little hand muscles.
🎨 Encourages Creative Play
There’s no “perfect” way to make the flowers, which makes this a relaxing process art activity.
⏰ Easy Setup for Busy Parents
You only need a few simple supplies already found at home.
🌼 Skills Practice
- fine motor skills
- hand-eye coordination
- color recognition
- creativity
- sensory exploration
- early art skills
- bilateral coordination
🌸 Tips for Parents
💡 Use washable paint for easier cleanup
💡 Pre-cut the flower stamp before inviting toddlers to paint
💡 Try different roll cuts for unique flower shapes
💡 Use thicker paper to prevent paint from soaking through
💡 Add glitter or stickers once dry for extra fun
🌷 Variations to Try
🌈 Rainbow Flowers
Use multiple paint colors on one stamp for rainbow petals.
🌻 Giant Flowers
Use paper towel rolls for larger flower prints.
🦋 Spring Nature Art
Add butterflies, grass, sunshine, or fingerprints around the flowers.