Looking for fun and easy painting ideas for kids that don’t require fancy supplies or artistic skills? This colorful sponge-stamped flower activity is a simple art project that encourages creativity, strengthens fine motor skills, and creates beautiful results that children are proud to display.
I wasn’t expecting much from a few sponge stampers—but the finished flower paintings were absolutely adorable.
If your little one enjoys painting, you may also love exploring our other painting activities for preschoolers, spring crafts for kids, and fine motor activities for even more hands-on fun.
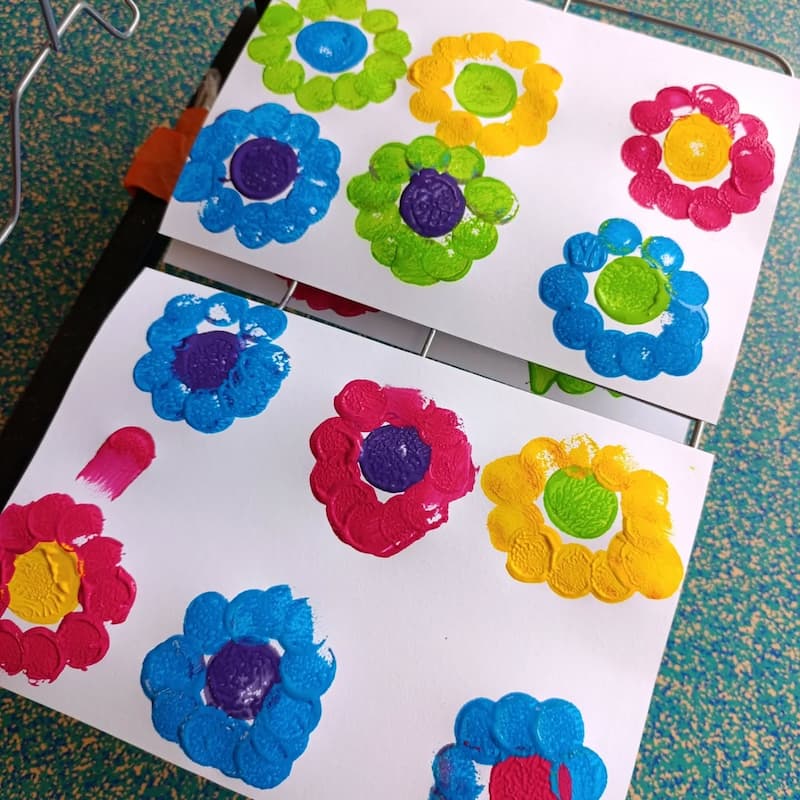
🌼 Why We Loved This Activity
Sometimes the simplest art activities turn out to be the most enjoyable.
With just a few sponge stampers, washable paint, and paper, children can create a whole garden of bright flowers. What I love most about this activity is that it gives kids enough guidance to create recognizable flowers while still allowing plenty of freedom to choose colors and designs.
Each flower ends up looking completely unique!
🎨 Materials Needed
- Round sponge paint stampers (large and small sizes)
- Washable paint in various colors
- White cardstock or thick paper
- Paint trays or paper plates
- Apron or old clothes
- Paper towels for cleanup

🌸 How to Make Sponge Stamped Flowers
Step 1: Set Up Your Painting Station
Pour small amounts of paint onto trays or paper plates.
Choose bright colors such as:
- Pink
- Blue
- Yellow
- Green
- Purple
These vibrant colors help create cheerful flowers that really stand out on the page.
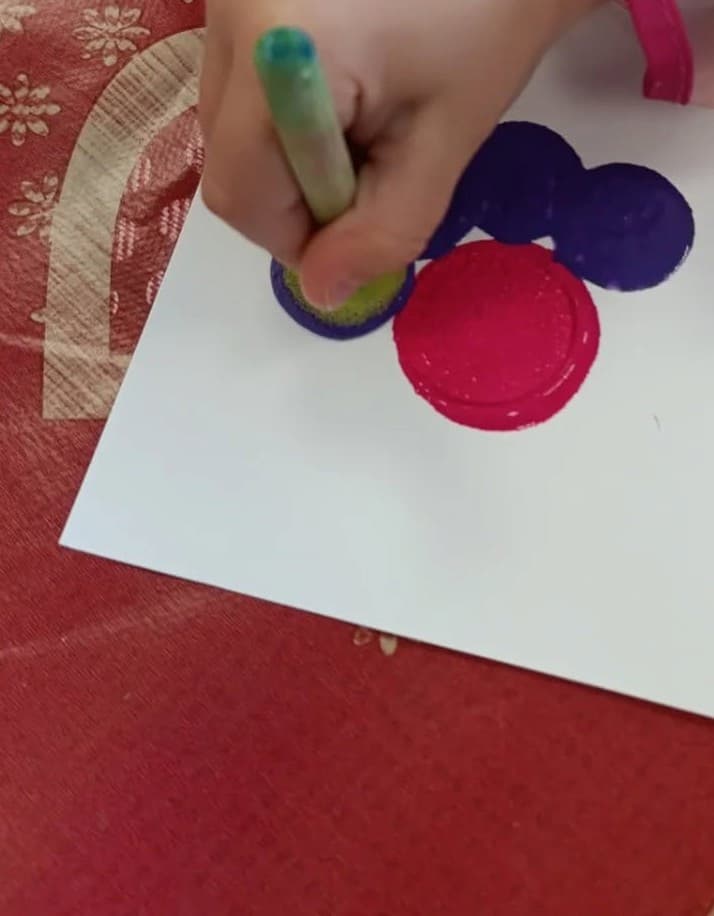
Step 2: Stamp the Flower Centers
Using a larger round sponge stamper, dip it into paint and press it onto the paper.
Leave enough space between each stamp for petals later.
These larger circles will become the centers of the flowers.
Step 3: Add the Petals
Take a smaller sponge stamper and dip it into a different color.
Stamp circles around the flower center to create petals.
Children can carefully place each petal or experiment with different arrangements.
Step 4: Create More Flowers
Continue stamping flowers across the page.
Encourage your child to:
- Mix colors
- Make flowers of different sizes
- Try unusual color combinations
- Fill the page with a colorful flower garden
Step 5: Allow the Artwork to Dry
Once the painting is complete, set it aside to dry.
The finished artwork makes a beautiful spring decoration for the refrigerator, classroom display, or bedroom wall.
💕 Tips for Success
✔ Use washable paint for easy cleanup.
✔ Place a plastic tablecloth or tray underneath the paper.
✔ Offer several stamper sizes for more creative possibilities.
✔ Let children choose their own colors.
✔ Focus on the process rather than creating perfect flowers.
🌼 Variations to Try
Want to extend the fun? Try:
- Rainbow flowers
- Giant flower gardens
- Flower cards for grandparents
- Spring bulletin board displays
- Nature-inspired flower paintings
🌈 Skills Kids Practice During This Activity
✋ Fine Motor Skills
Holding and pressing the sponge stampers helps strengthen the small muscles in children’s hands.
👀 Hand-Eye Coordination
Children practice controlling where each stamp lands on the page.
🌸 Shape Recognition
Kids learn how simple circles can be combined to create recognizable flower shapes.
🎨 Creativity
Choosing colors and designing flower patterns encourages creative thinking.
💡 Focus and Concentration
The repetitive stamping motion naturally supports concentration and attention to detail.