If you’ve ever wondered how to make kinetic sand at home, you’ll love this simple recipe made with everyday pantry ingredients.
My toddler absolutely loves sensory play, but buying commercial kinetic sand can become expensive—especially when it ends up all over the floor! That’s why I started making my own homemade kinetic sand, and honestly, it’s become one of our favorite sensory activities.
This DIY kinetic sand has a wonderfully soft, crumbly texture that’s easy for little hands to squeeze, mold, scoop, and stamp. Better yet, it’s made without glue or borax and uses edible pantry ingredients, making it a reassuring option for toddlers who still explore with their mouths.
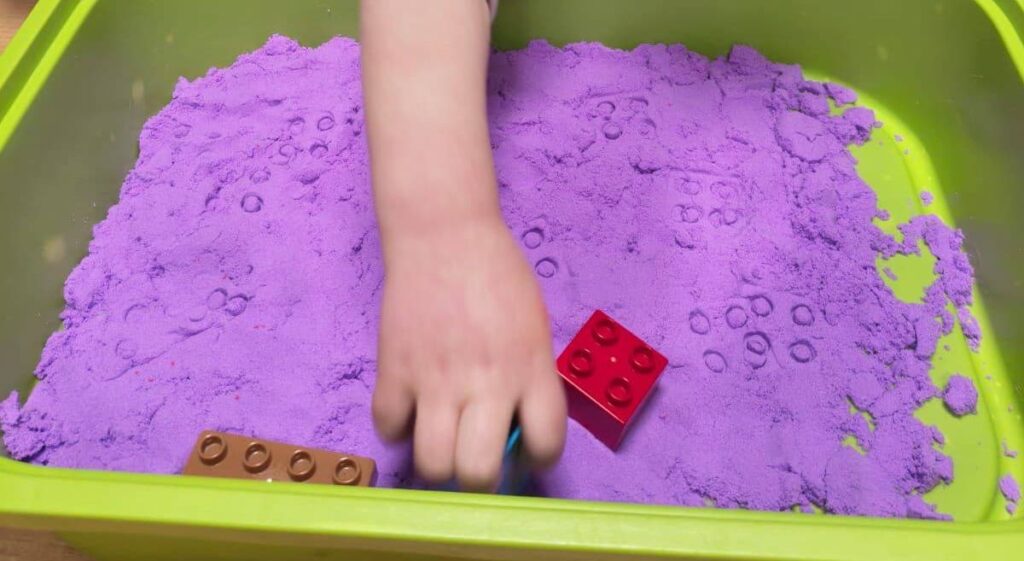
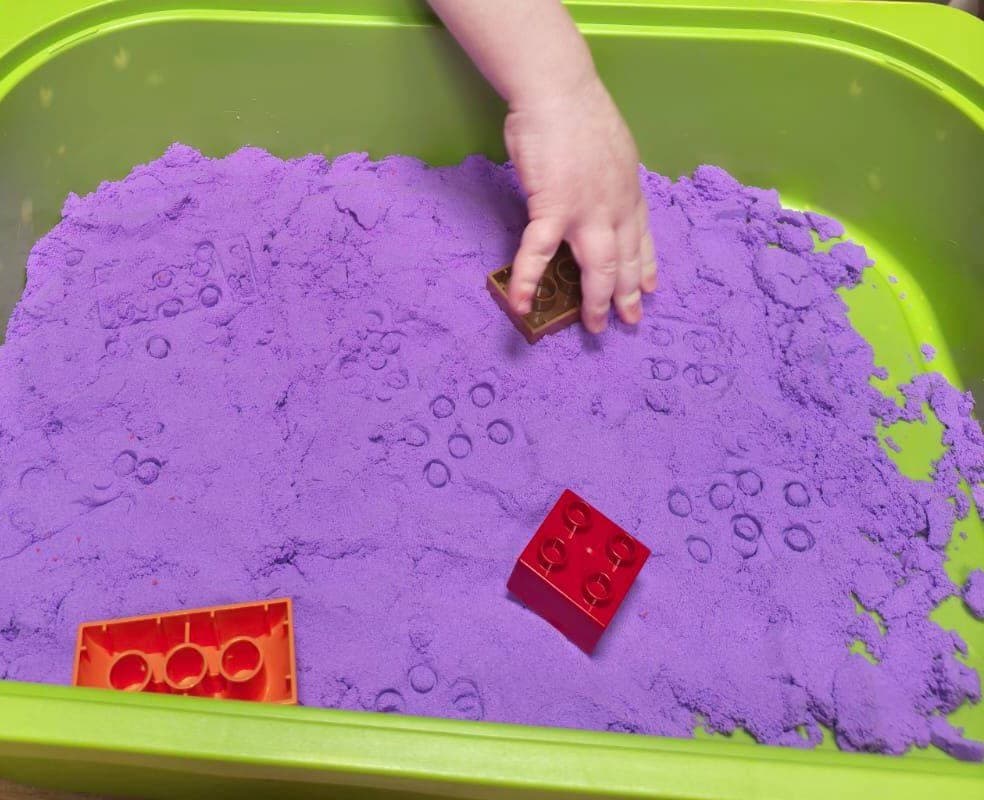
For this batch, I colored the sand bright purple and paired it with some large DUPLO blocks. My toddler spent ages pressing the blocks into the sand, discovering different patterns, smoothing the surface, and starting all over again. It was one of those wonderfully simple activities that kept him happily engaged while building fine motor skills through play.
Whether you’re looking for a rainy-day activity, a sensory bin filler, or a fun homemade alternative to store-bought kinetic sand, this recipe is definitely worth trying.
🌸Related Activities You Might Like
Moon Dough Recipe 2 Ingredients (Easy Sensory Play for Toddlers)
Why You’ll Love This Homemade Kinetic Sand
There are so many reasons this recipe has become one of our favorite sensory play materials.
✔ Made with simple pantry ingredients
✔ No glue
✔ No borax
✔ Budget-friendly
✔ Easy to customize with different colors
✔ Perfect for sensory bins
✔ Encourages fine motor development
✔ Reusable for multiple play sessions
✔ Soft, moldable, and wonderfully satisfying to play with
What Makes This Different from Moon Sand?
Although homemade kinetic sand and moon sand look similar, they feel quite different.
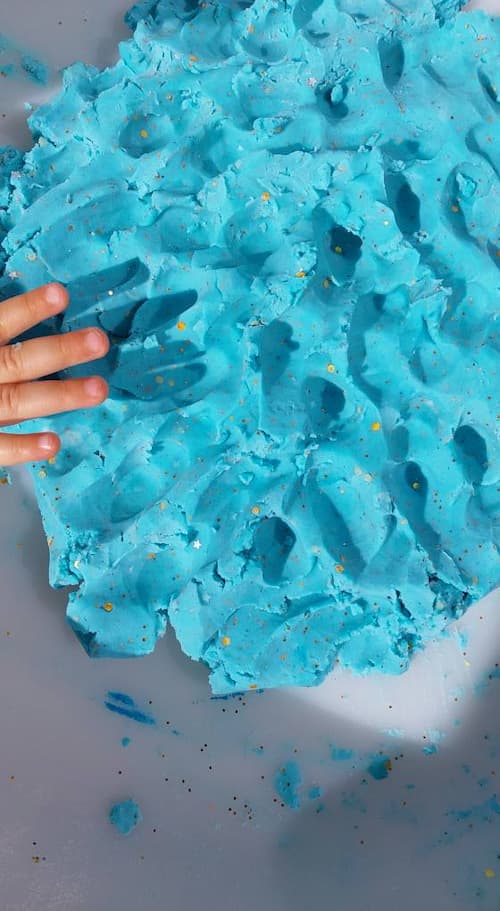
Moon sand has a silky, powdery texture that falls apart very easily.
This homemade kinetic sand has a slightly grainier feel thanks to the granulated sugar, making it feel much closer to real sand while still being easy to mold and shape.
If you’ve already tried our cloud dough recipe or moon sand, this is another fun sensory material to add to your collection.

Ingredients
You’ll need:
- 1 cup baking soda
- ½ cup cornstarch
- ½ cup granulated sugar
- 1 tablespoon cream of tartar
- 3–4 tablespoons water
- Liquid food coloring
Equipment
- Mixing bowl
- Spoon
- Fork or whisk
- Small bowl
- Measuring cups
- Airtight container for storage
How to Make Kinetic Sand
Step 1: Combine the dry ingredients
In a medium mixing bowl, combine:
- 1 cup baking soda
- ½ cup cornstarch
- ½ cup granulated sugar
- 1 tablespoon cream of tartar
Mix everything together until the ingredients are evenly combined.
Tip: If you don’t have cream of tartar, you can still make this recipe. The texture may be slightly different, but it will still work well for sensory play.
Step 2: Mix the colored water
Pour 3 tablespoons of water into a small bowl.
Add several drops of liquid food coloring.
For this activity, I used purple food coloring because my toddler loves bright colors. Around 10 drops created a lovely vibrant shade, but you can make it as light or as bold as you like.
Step 3: Slowly add the water
Don’t pour all the water in at once.
Instead, add about 2 tablespoons of the colored water to the dry ingredients while stirring with a fork.
Once everything begins coming together, add the remaining tablespoon and continue mixing.
At this stage, the mixture may still look a little crumbly—that’s completely normal.
I like switching to my hands toward the end because it helps combine everything more evenly.
Step 4: Adjust the texture
Now it’s time to fine-tune the consistency.
If your kinetic sand feels too dry, add a tiny splash of the remaining water—just one teaspoon at a time.
You’ll be surprised how much difference a small amount of water makes.
For me, about 3½ tablespoons of water created the perfect texture.
The sand held together beautifully when squeezed but crumbled apart easily, just like kinetic sand should.
Adding the full 4 tablespoons made the mixture slightly too wet for my preference, so I recommend adding water gradually until you’re happy with the texture.
Step 5: Time to play!
Once your homemade kinetic sand easily holds its shape without becoming sticky, it’s ready for play.
Transfer it to a sensory bin, tray, or shallow container and let your child explore.
Our Favorite Way to Play
For this activity, I simply spread the purple kinetic sand into a large sensory bin and added several large DUPLO blocks.
My toddler immediately began pressing the blocks into the sand to discover the different patterns they created.
Each block left its own unique design, and he loved comparing the prints before smoothing the sand and starting all over again.
Sometimes the simplest activities end up being the most engaging.
More Ways to Play with Kinetic Sand
Once you’ve made your kinetic sand, there are so many fun ways to use it.
Some of our favorites include:
- Stamping with DUPLO blocks
- Toy car tracks
- Dinosaur footprints
- Farm animal footprints
- Construction truck sensory play
- Cookie cutter shapes
- Letter stamping
- Number matching
- Scooping and pouring
- Treasure hunts
- Nature prints using leaves
- Building mini sandcastles
- Hiding pom-poms
- Counting activities
- Shape matching games
What Children Learn
Although it feels like simple play, children are developing many important skills.
This activity encourages:
- Fine motor development
- Hand strength
- Hand-eye coordination
- Creativity
- Problem-solving
- Sensory processing
- Early math concepts
- Pattern recognition
- Cause and effect
- Imaginative play
How to Store Homemade Kinetic Sand
When playtime is over, place the kinetic sand into an airtight container.
Stored properly, it can be reused again and again.
If it begins to dry out, simply add a few drops of water and mix well until the texture returns.
Remember to add water gradually because even a small amount can make a big difference.
Is This Recipe Taste-Safe?
This recipe uses edible pantry ingredients, making it a more reassuring option for toddlers who still like to explore with their mouths.
However, it is not intended to be eaten. Baking soda can be harmful if consumed in large quantities, so children should always be supervised during sensory play.
Frequently Asked Questions
Can I make kinetic sand without cream of tartar?
Yes. The recipe will still work, although the texture may be slightly different.
Can I use gel food coloring?
Absolutely! Gel food coloring creates vibrant colors. Just mix it thoroughly into the water before adding it to the dry ingredients.
Why is my kinetic sand too dry?
Add water one teaspoon at a time until you reach the desired consistency.
Why is my kinetic sand sticky?
Too much water has been added. Sprinkle in a little more cornstarch and baking soda until the texture improves.
Can I make different colors?
Yes! Try blue for ocean play, green for dinosaurs, orange for autumn, pink for Valentine’s Day, or black and orange for Halloween sensory bins.