If you’re looking for a simple toddler activity that doesn’t require a trip to the craft store or a Pinterest-level setup… this paper plate pumpkin craft is it.
We did this the other day, and it kept my toddler happily busy while also sneaking in some fine motor practice (win-win 🙌).
It’s easy, low-prep, and perfect for fall or Halloween — especially if you love activities that look cute but don’t stress you out.
What We Used
- 1 paper plate
- Orange paint
- Paintbrush (a sponge brush works great too)
- Black construction paper
- Glue (glue stick or washable school glue)
That’s it. Nothing fancy.

How We Did It (Step-by-Step)
Step 1: Paint the Pumpkin
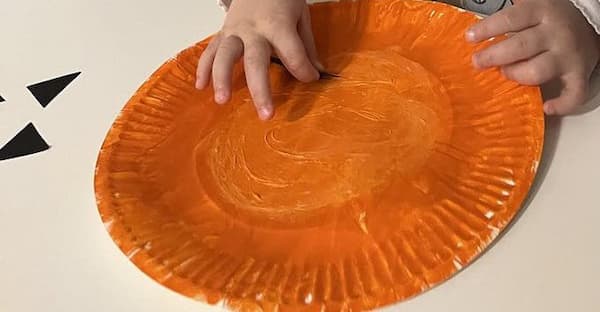
First, I let my toddler paint the entire paper plate orange.
Now let me say this: it was not perfectly covered. There were streaks. There were thick spots. There was paint on fingers.
And it was perfect.
If you’re short on time, you can absolutely paint the plates the night before and just let your toddler do the face part the next day.
Step 2: Cut Out the Face Pieces
While the plate was drying, I cut out:
- Two triangles for eyes
- One smaller triangle for the nose
- A simple zigzag mouth
Nothing precise. Just classic jack-o’-lantern shapes.
If you have an older toddler, you could draw the shapes and let them practice cutting.
Step 3: Add the Glue
Once the paint was dry, I spread glue across the center of the plate.
You can use:
- A glue stick (less mess)
- Or liquid school glue (just spread it thin)
My toddler loved helping spread the glue with their fingers — which honestly just adds to the sensory fun.
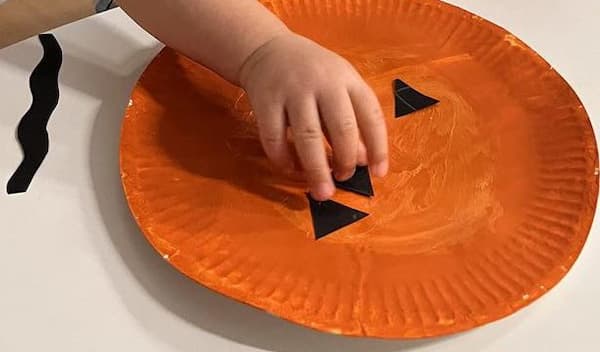
Step 4: Build the Pumpkin Face
This was the best part.
I handed over the triangle pieces one at a time and let my toddler decide where they should go.
The eyes weren’t perfectly even.
The nose wasn’t centered.
And that’s exactly how it should be.
You can gently ask:
- “Where do the eyes go?”
- “Does the nose go above or below the mouth?”
But let them take the lead. That’s where the learning happens.
Why I Love This Activity
Besides being adorable when it’s done, this simple craft works on:
- Fine motor skills (picking up and placing small pieces)
- Hand-eye coordination
- Shape recognition (hello, triangles!)
- Early problem-solving
- Creativity and independence
And it only took about 15–20 minutes from start to finish.
No complicated setup.
No overwhelm.
No glitter explosion in my kitchen.
Mom Tip: Make It Even Easier
If you’re in a busy season (aren’t we always?), here’s how to simplify:
- Pre-paint several plates at once and store them.
- Pre-cut multiple sets of faces so you can reuse this activity later.
- Keep a small “craft bin” with basics like paper plates, glue, and construction paper ready to go.
Future you will be thankful.
This paper plate pumpkin craft is proof that toddler activities don’t have to be complicated to be meaningful.
Simple supplies.
A little glue.
Tiny hands placing triangle eyes.
And suddenly you’ve got a pumpkin masterpiece on your fridge.
If you try this with your toddler, I’d love to hear how it turns out 💛